Greetings friends, if you are like me you like a lil fancy in your life occasionally. I’ve gotten tired of spilling tiki oil and putting away dirty canisters. So when I saw other people with the ‘pillars of flame’ I was intrigued.
For the record, I am not a professional… well, anything. So this is meant to be a guide for a hobby and not intended for strict direction. If you are concerned, seek out a professional for assistance.
Let’s clarify what we are talking about. These are generally vertical poles hooked up to an LP tank. When the top is lit it makes a nice bright fire. Not for warmth mind you, but light.
Constructed well, these give off a tremendous amount of light. However, I’m not necessarily going for lighting up the neighborhood, rather more ‘ambience’. To that end I’ve made modifications that suit my… my… (“idiom sir?”) yes.. idiom! Something like that…

Im going to walk you through the construction of what I did with some guidance from Brocc Stratton.
First you will need some basic tools:
- 2 adjustable/crescent wrenches or pipe wrenches
- lp gas tape for the connections
- 1/2″ gas pipe
- one longer pipe length 6-8′
- one ‘T’
- one 8″ pipe section
- two caps
- gas regulator
- shut off valve
- drill
- ~ 1/16″ drill bit for metal
- 1/2″ to 3/8″ fitting to regulator (yours may be different)
- 1″ nipple
- fiddly bits for the top (in my particular case see below)
- three couplers
- 6 washers big enough to fit over pipe
- punched metal lamp, bowl, or similar that can take direct flame
- make sure you can fit it on to pipe
- two 2″ pipe section
Ready? Let’s Goooooo!
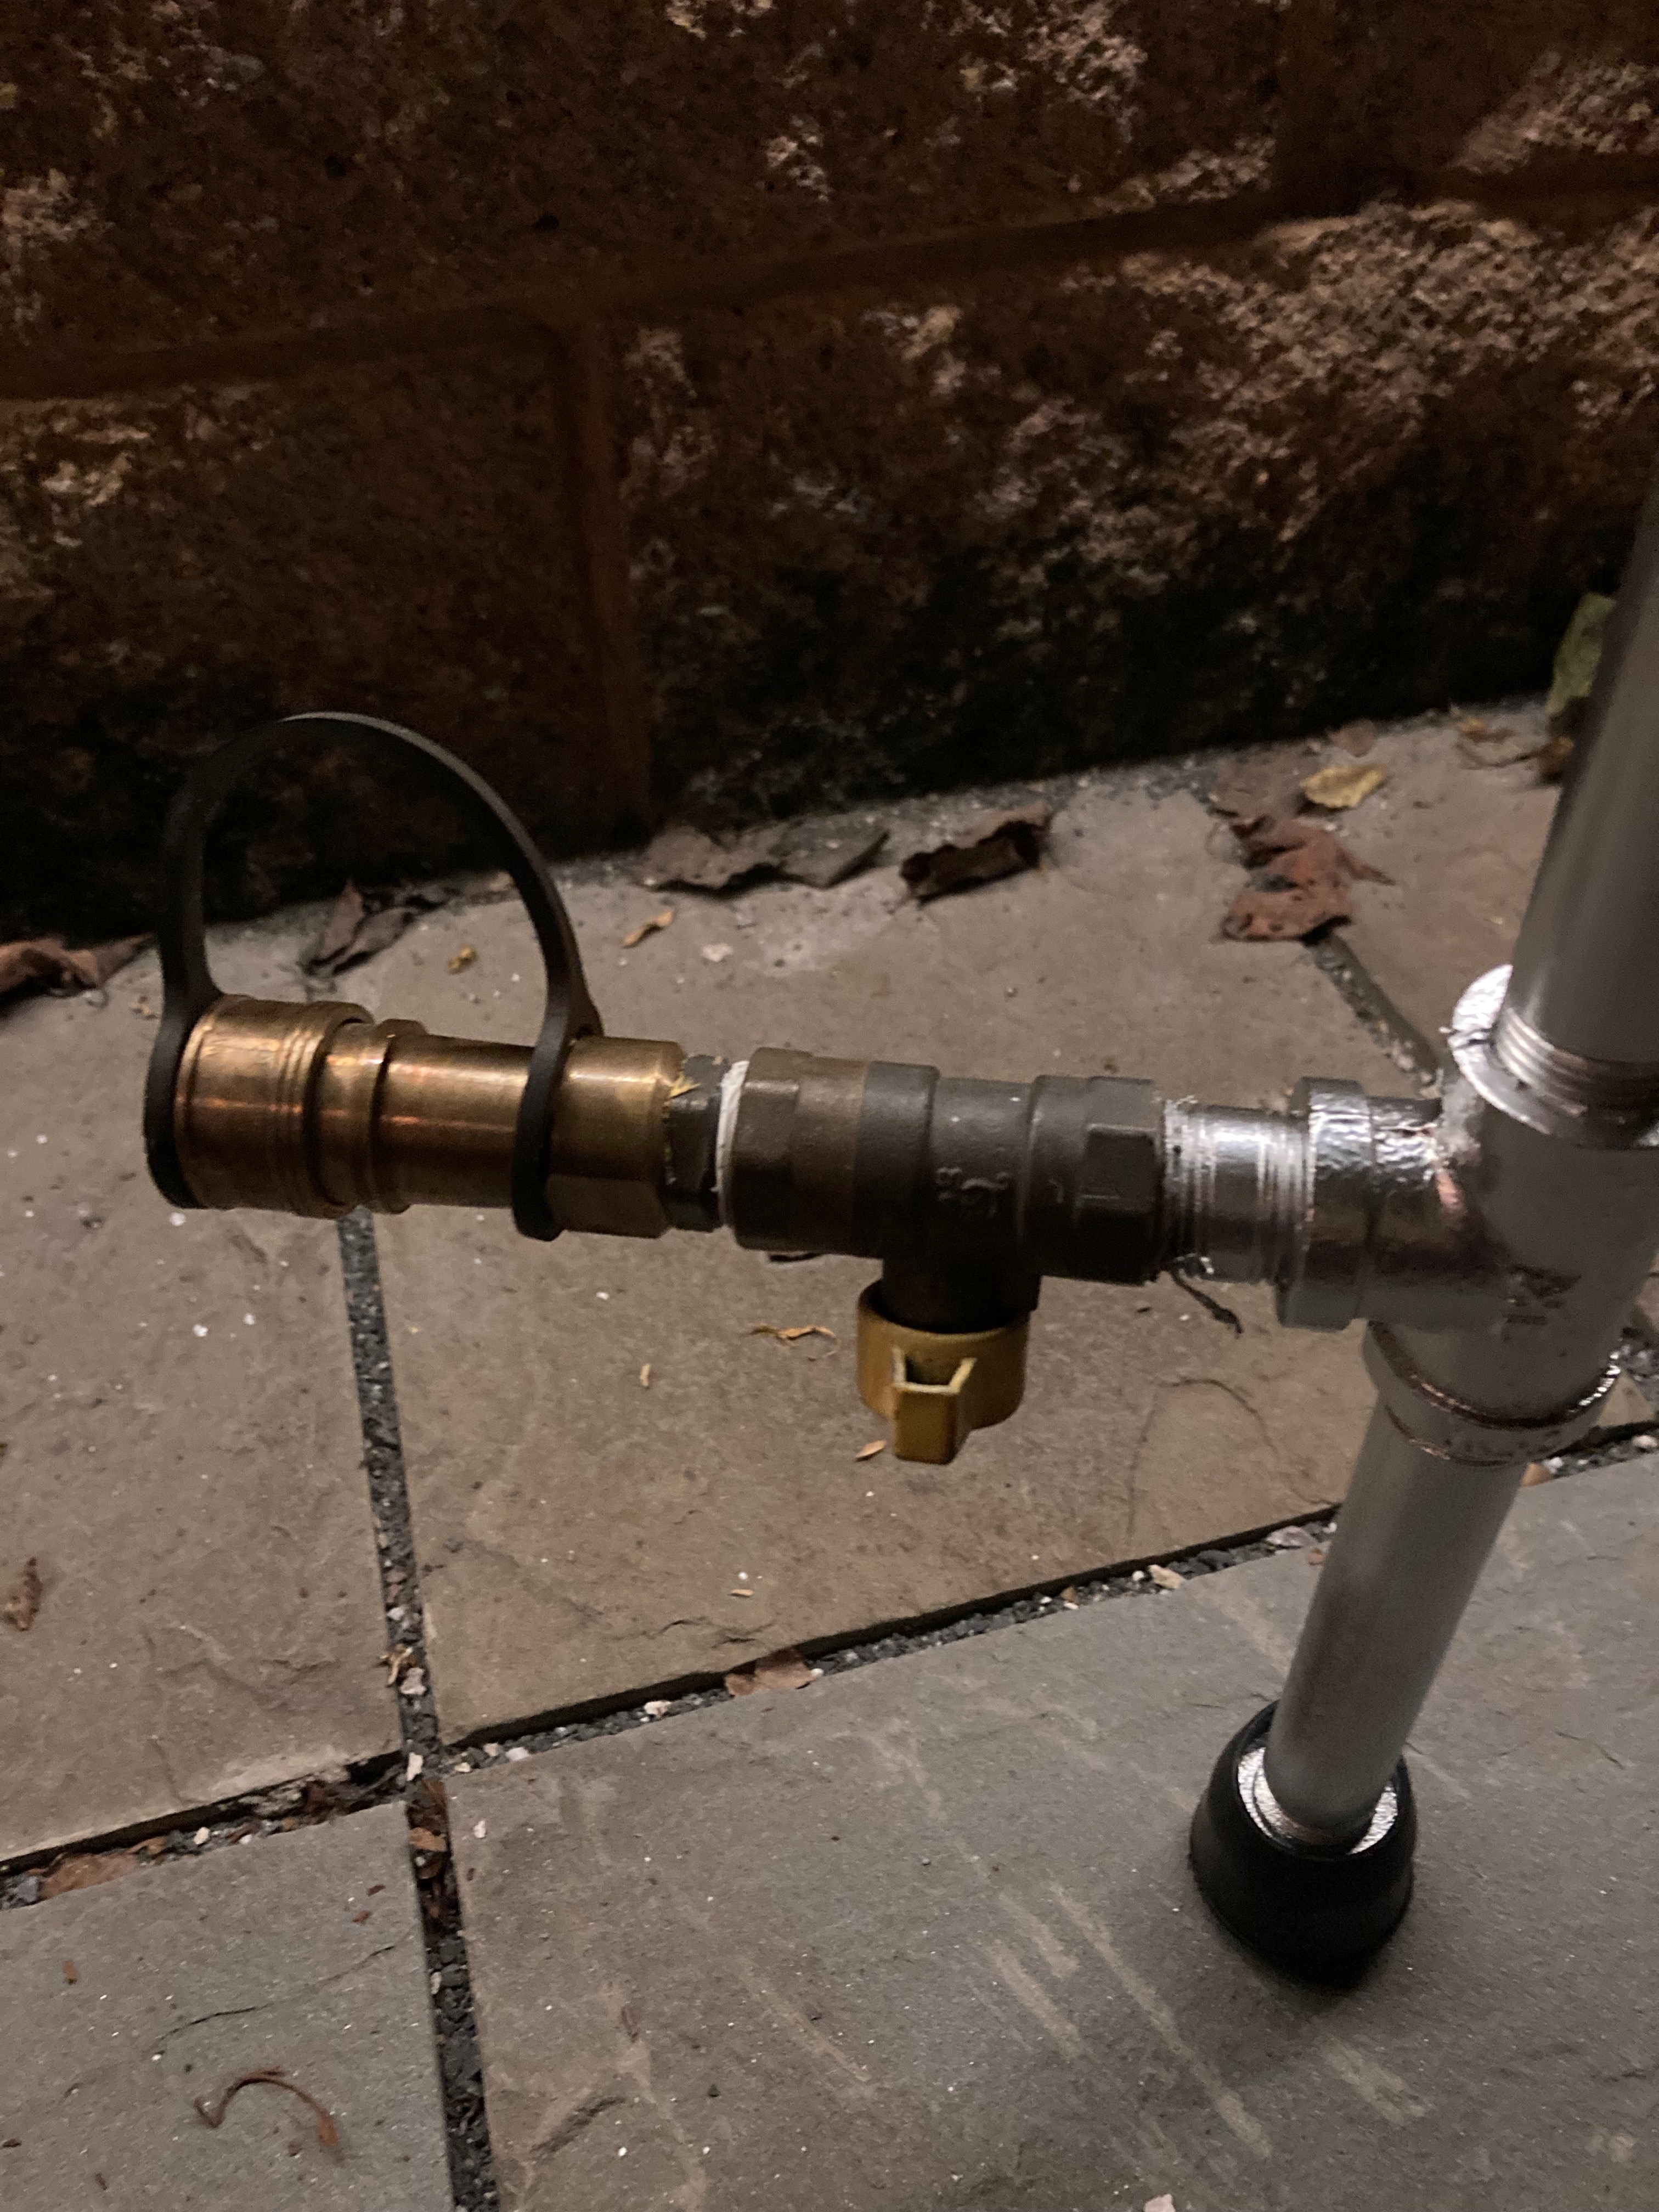
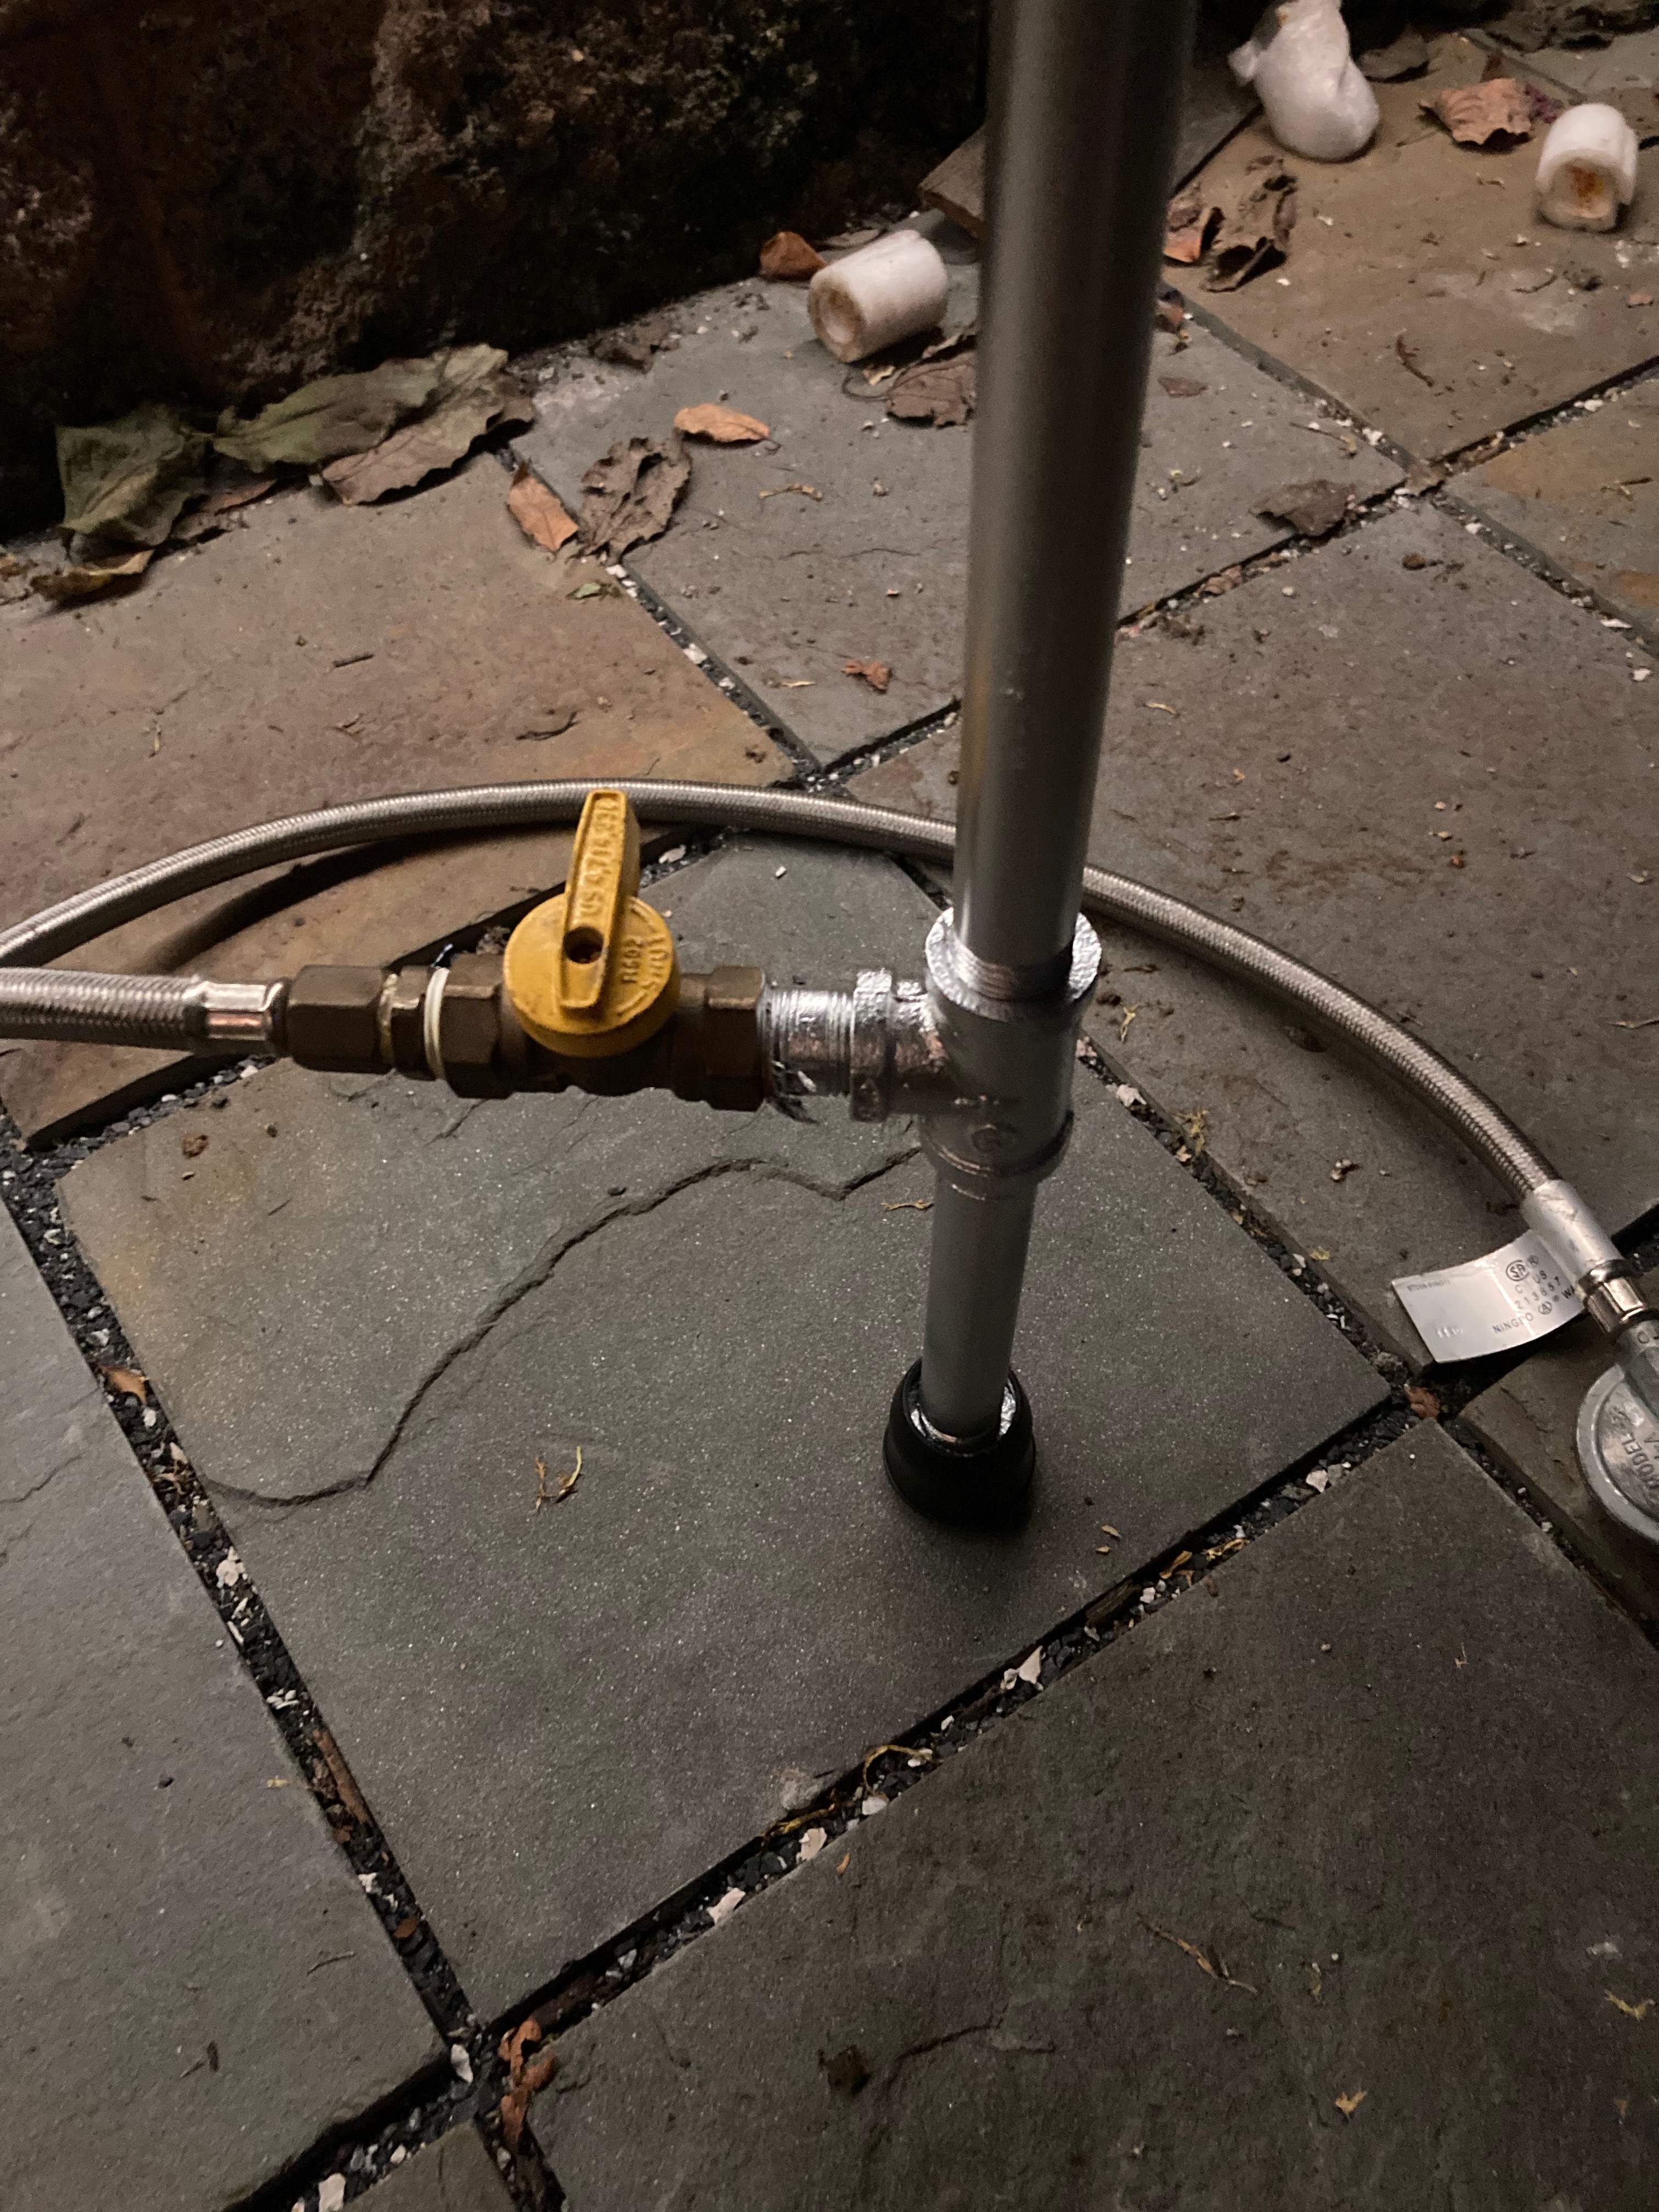
From the bottom up add the tape to the 8″ threads, add a cap to one end, and the ‘T’ vertically. Add tape to the 1″ nipple and connect to the horizontal extended ‘T’, then add the valve.

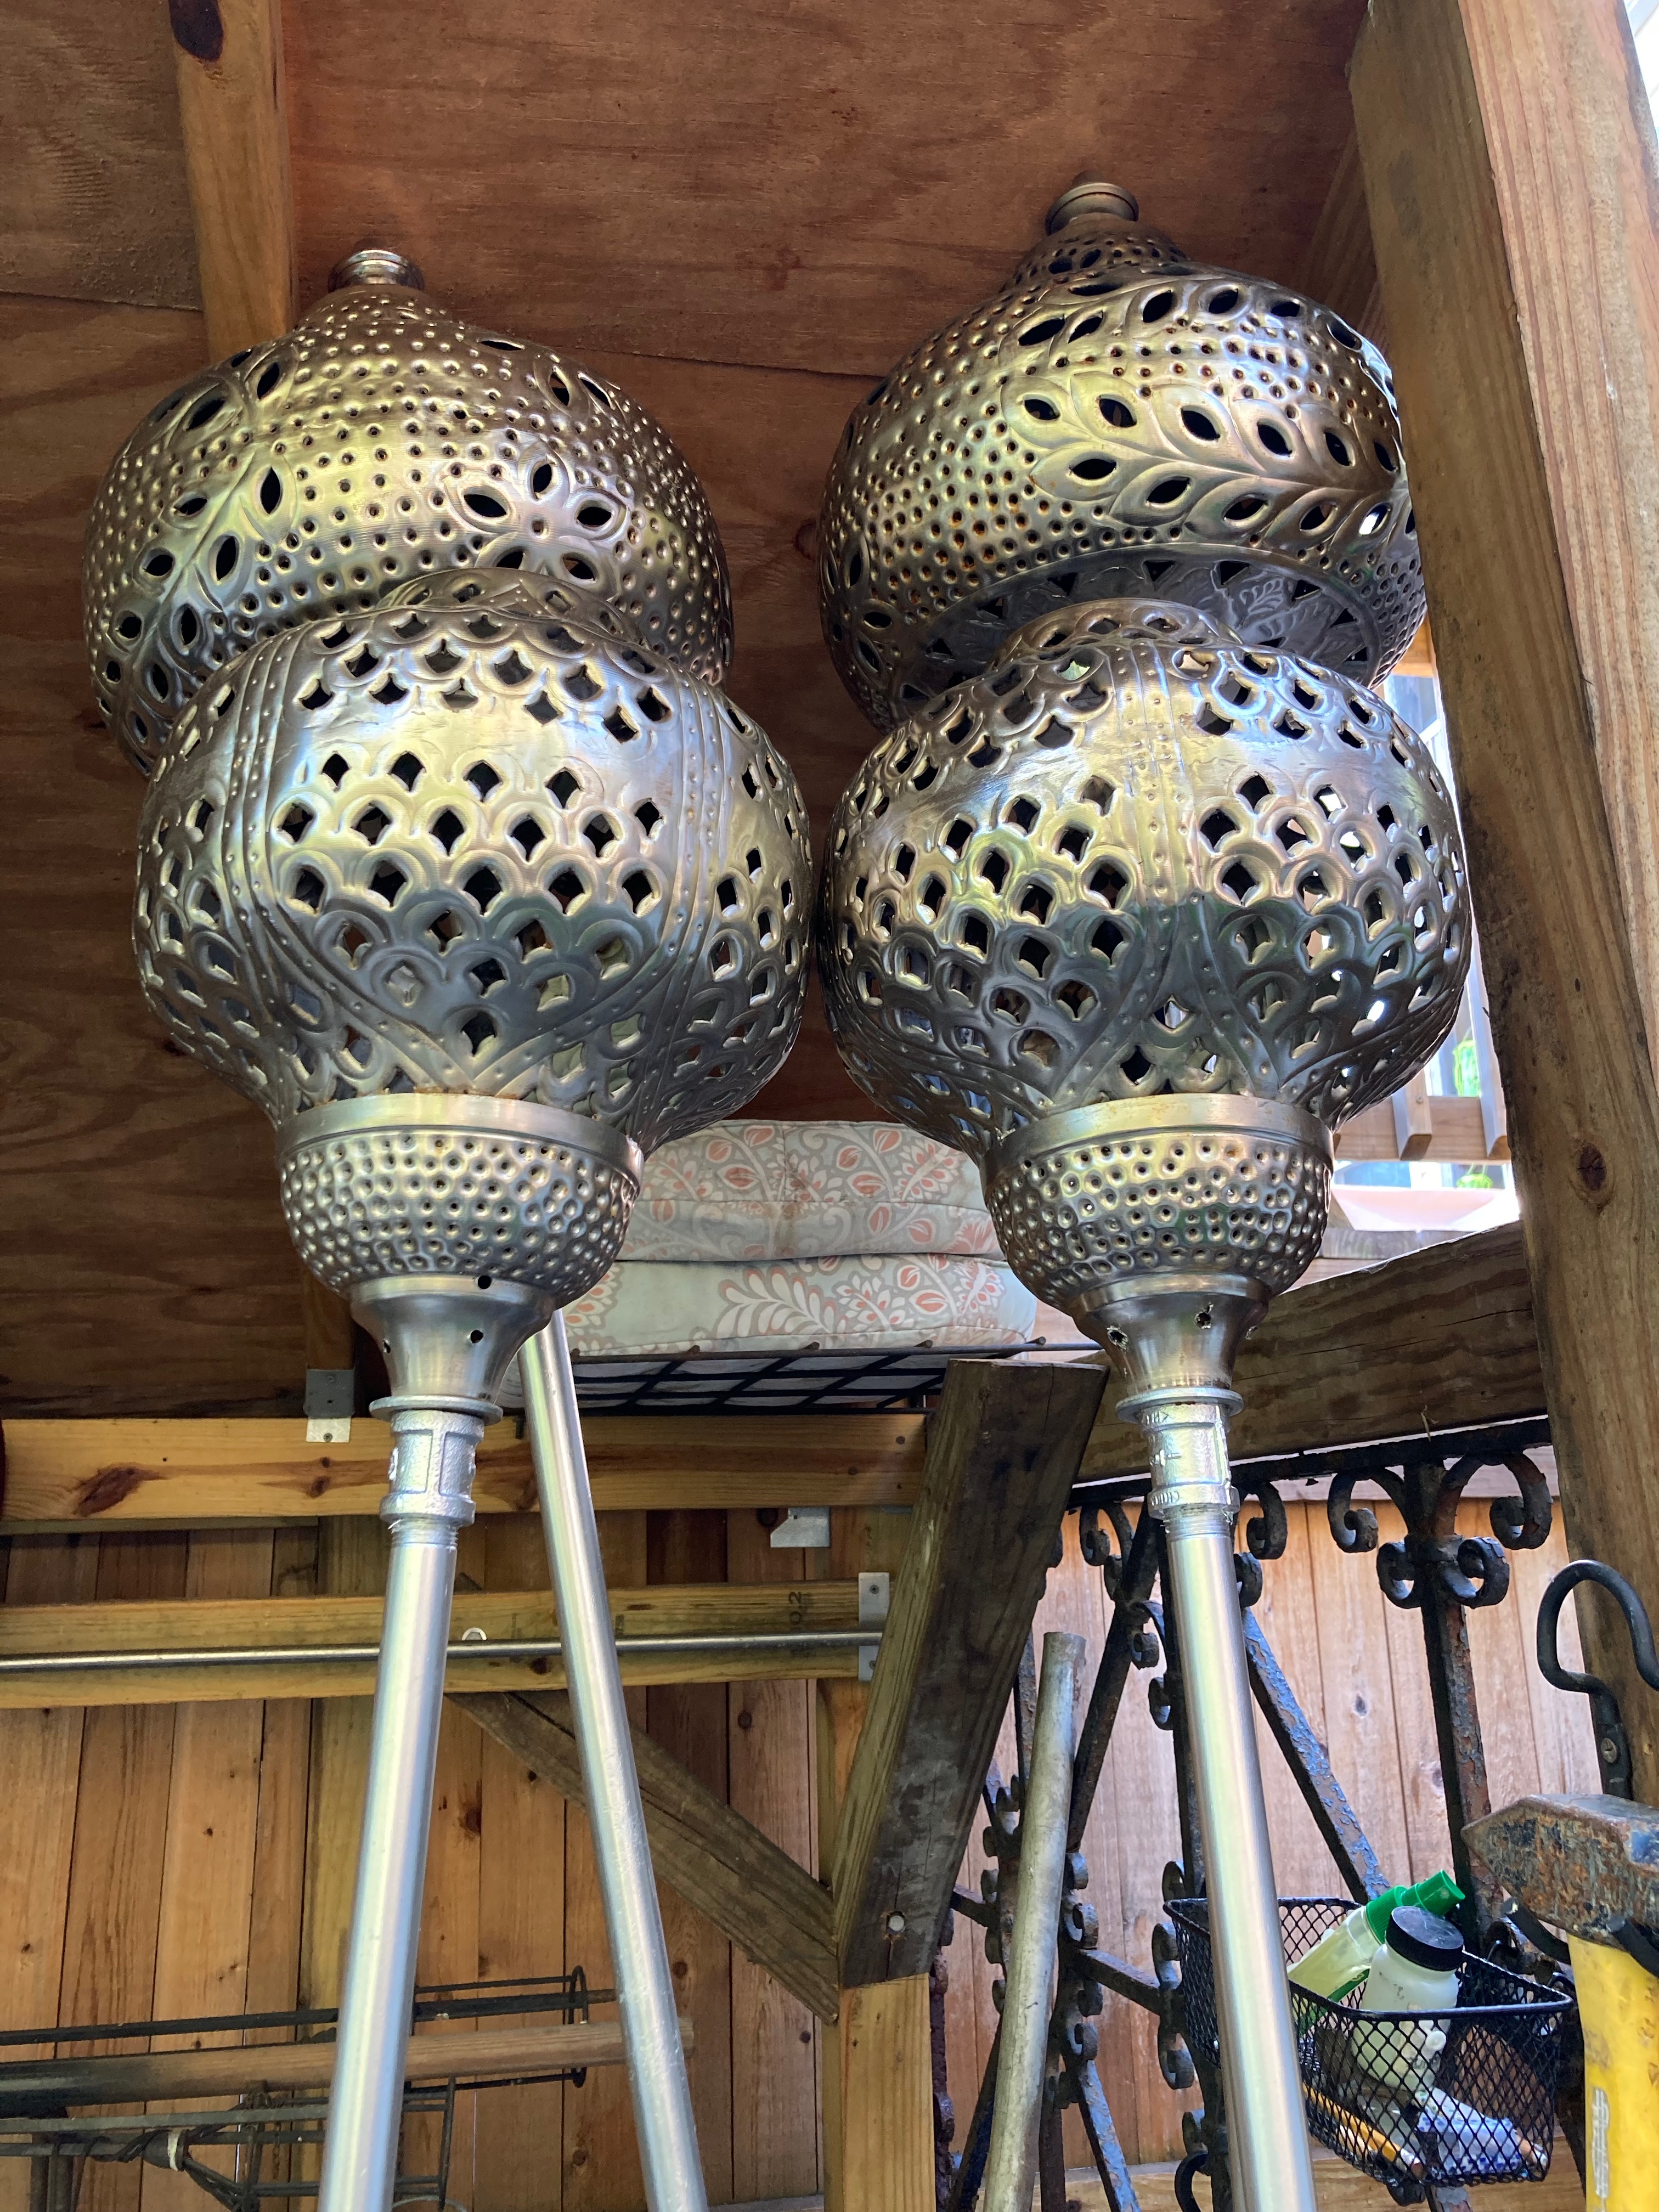
Continuing up we add the length of pipe, again adding the tape anywhere we join the threads. Here is where we add the coupling, as well as the fiddly bits to secure the punched metal, shade, whatever using washers or any other method you can surmise. See illustration below to see how mine are secured.
The smaller section of pipe you use right before the top cap will depend on what you are using as a topper/shade etc… Before adding the shade however, assemble the top pipe and cap. If you have a vice or something, I’d suggest using it for the drilling. I added the cap and used the metal drill bit at 90º and drill holes at 12, 3,6, and 9 o’clock around the side of the cap. Note that the cap will need to be threaded so you can’t go too low, and if you go too high towards the crown, it is solid metal. You will need to fine that ‘sweet spot’.
When adding the lamp top I made a few modifications. A drilled holes near the bottom so water doesn’t pool up. I also used a Dremel to cut a 3/4″ square near the bottom so I can insert a lighter into the chamber to light it.
Tape and mask off the lamp top, and the valve. Any pipe that you don’t want painted. Lightly sand and clean with a rag. I used a self etching primer first, the coated with chrome metal paint. I wouldn’t paint the lamp part of any covering, it can get set alight and now you have another dazzling sight, however unintended.
For funnzies I additionally add rubber furniture feet to the bottom, filled with silicone to protect the bottom cap. The punched lamp toppers I foound as actual electric lamps at two different Marshalls. I disassembled the lamps, created a hole for mounting, and voila!
Lighting the torch:
When lighting the torch, first start by connecting everything up properly. The open the LP tank. You will usually hear a ‘click’. The proceed to open the line valve. I usual open it further than I need until I hear a gas ‘hiss’ then reduce to 1/4 maximum. Count to 10, then use a long lighter, in my case, inserted into the hole and hold near each of the pin holes in the cap. Sometimes they will light each other up depending.
Conclusion:
There is a LOT more I can say here, but I have a drink to finish and more projects to set up! Post any questions below!